How to Wrap a Birthday Gift: Step by Step Guide
Do you know how to wrap a birthday gift? If not, I’ve got you covered.
Did you know that 52% of Americans consider gift wrapping the hardest part of the holiday season? In fact, 51% would even pay for professional wrapping services just to avoid the task. Fascinating, right?
Last year, I spent two hours wrapping a birthday gift for my best friend. When she saw the effort I put in, she was touched, and it brought us even closer.
If you enjoy wrapping gifts yourself and want to save money on professional wrapping services, this guide is for you.
Gift wrapping isn’t just a chore. It’s your gift’s first impression. Imagine receiving a present in a crumpled grocery bag versus one that’s meticulously and creatively wrapped. Which would you prefer? Thoughtful wrapping shows care and effort, making the gift even more special.
Now, let me share my experience and guide you step-by-step to wrap a gift beautifully.
What You’ll Need
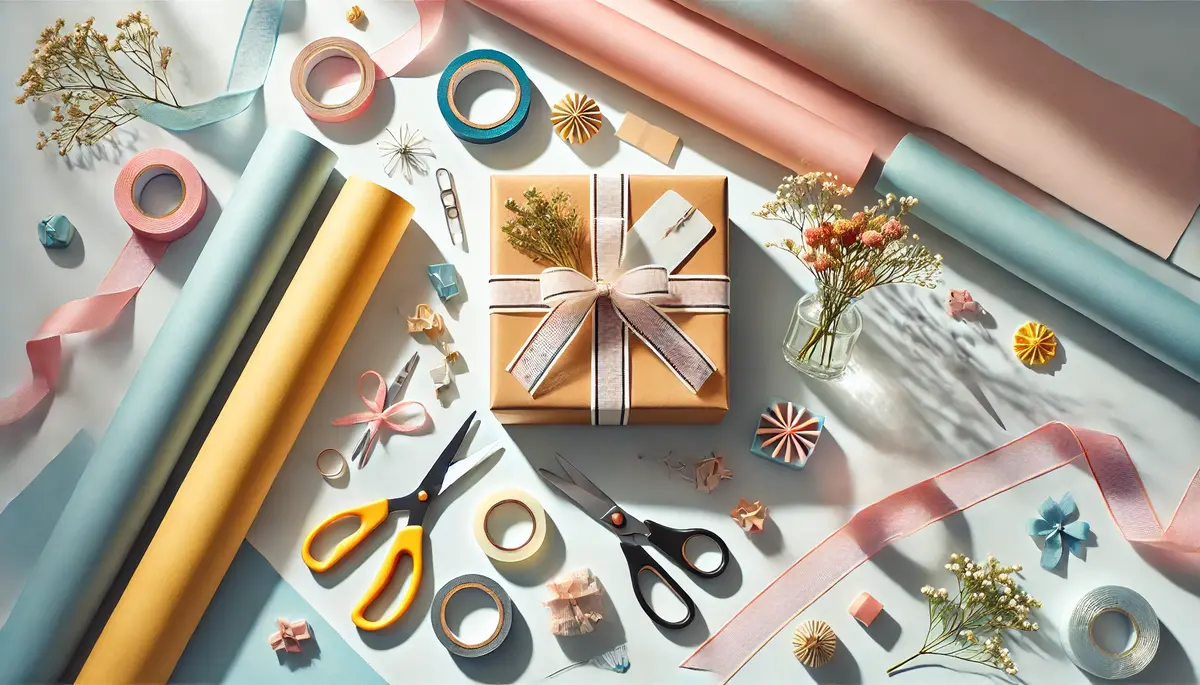
Before you start wrapping your gift, you’ll need to gather the following supplies:
- Wrapping paper (themed or plain)
- Tape (double-sided is fine)
- Scissors (sharp for neat cuts)
- Decorative items like ribbons, bows or dried flowers
- Gift tags for a personal touch
Consider swapping paper for fabric or reusable kraft paper. It’s both stylish and eco-friendly.
Quick Ideas for Creative Birthday Gift Wrapping
Layered wrap: Use two different papers, one as the base and another as an accent layer for a sophisticated look.
Fabric wrap: Try Japanese Furoshiki for an eco-friendly and classy option.
Handmade designs: Grab some markers and create your own patterns on plain kraft paper.
Upcycled materials: Old maps, magazines, or newspapers can double as quirky wrapping paper.
Read more: 15+ Creative Birthday Gift Box Ideas to Surprise Your Friend
6 Steps to Wrap a Birthday Gift
Okay! Let’s wrap your birthday present perfectly. Here are the steps you can follow:
Step 1: Get your space ready
First, you should find a clean, flat surface to work on. Clear away any clutter as you will need space to fold and cut without wrinkles.

Step 2: Measure your paper
Put the gift box in the middle of the wrapping paper. Pull the paper up onto the box, making sure it completely covers all sides. Leave a little (about 2 inches) of overlap for a secure finish.
Trust me, estimating by eye sometimes doesn’t work, so measure twice and cut once.

Step 3: Fold and secure the main wrap
Place one side of the paper on the box and tape it down. Pull the other side tight and secure it with tape. Next, use double-sided tape to keep everything clean, with no exposed tape lines to ruin your aesthetic.

Step 4: Handle the ends with care
Many people find this step tricky, but don’t worry, I’ll guide you:
- Push the edges in to form two triangular flaps
- Fold the top flap down neatly and tape it
- Then, lift the bottom flap up and secure it with tape
- Repeat the same steps on the other side
Spend 3–5 minutes making sure the folds are clean and sharp. This detail makes your gift look more professional.

Step 5: Add the wow factor
Now comes the fun part, decorating!
Tie a ribbon around the box and finish it with a bow. You can also add natural elements like a sprig of rosemary or a dried flower for a rustic touch. Personalize your gift further with a handwritten tag or a photo of you and the recipient.

Read more: What’s The Difference Between Friend and Best Friend
Step 6: Check and make it perfect
Check your wrapped gift from all sides. Are the edges neat? Is the paper smooth? Use small tape pieces to secure any loose edges.
Make sure your gift looks polished and ready to impress.

Final Thought
I’ve shared 6 easy steps to wrap a birthday gift beautifully. Taking the time to wrap your gift with care adds a special touch and makes the unwrapping moment even more joyful.
And don’t forget to include a meaningful birthday wish. Wishing you beautiful memories!
FAQs
What can I do if my wrapping paper tears while wrapping a gift?
If the tear is small, use double-sided tape to fix it discreetly. For larger or more noticeable tears, cover the spot with a decorative item like a ribbon, bow, or sticker. If the tear is too big, re-cut the wrapping paper or overlay a smaller piece of contrasting paper to turn it into a stylish feature.
How do I wrap a cylindrical gift without it looking messy?
If the ends look bulky, trim the extra paper before tying the ribbon. Lay the cylinder horizontally on the wrapping paper and roll it up, securing the seam with double-sided tape. Twist the excess paper at both ends like a candy wrapper and tie it with a ribbon for a clean finish.